Now live: The 2025 Canopy Report. Learn how Americans see trees. GET THE REPORT
Planting
Planting Potted Trees
Proper planting is key to set your potted or containerized tree up for success. Grab a shovel, gloves, a small bag of mulch, and a pocket knife and let’s get planting.

Right tree, right place
The first step is choosing where to plant your tree.
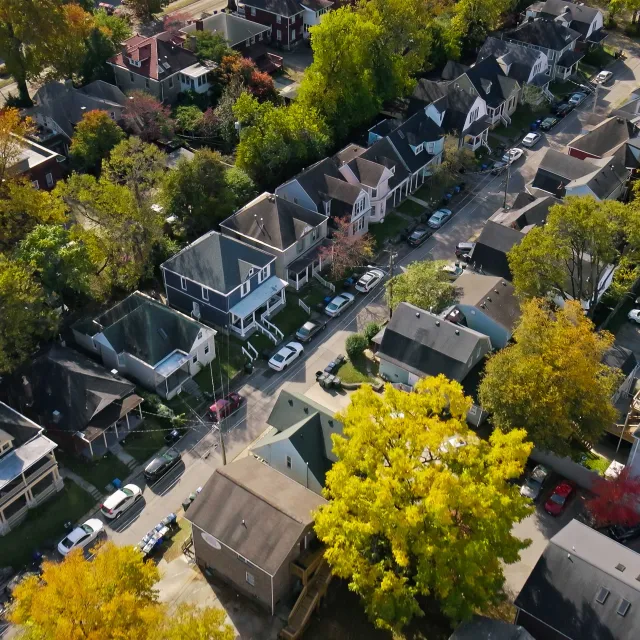
Consider how large your tree will grow and avoid obstacles like sidewalks and power lines. Think about shading windows or AC units to conserve energy and where your tree will get full or partial sun, depending on your species’ needs.
Ready, set, plant
Call

Call
A few days before you dig, call 811 to avoid any underground lines.

Dig
Dig a hole about three to four times as wide as the container with sloping slides.

Remove from pot
Lay your tree’s container on its side and tap to loosen the roots. Gently remove the tree and try to keep the soil around the roots intact. Sometimes, potted trees become root-bound. To loosen things up, cut a shallow X with a sharp knife across the bottom of the root ball and score four vertical slices along the sides.

Center
Center your tree in the hole and adjust the depth so the root collar (where the uppermost roots grow out of the trunk) sits even with the ground.

Fill
Fill and firmly pack the hole until the soil is at ground level. Form a circular ridge of soil about 3 feet from the base of the tree to keep water from running away.

Mulch & Water
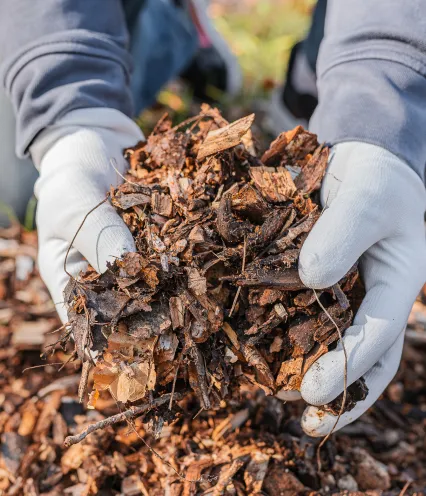
Remove grass within 3 feet around the tree and add natural mulch about 2 to 4 inches deep. Keep mulch from touching the trunk.
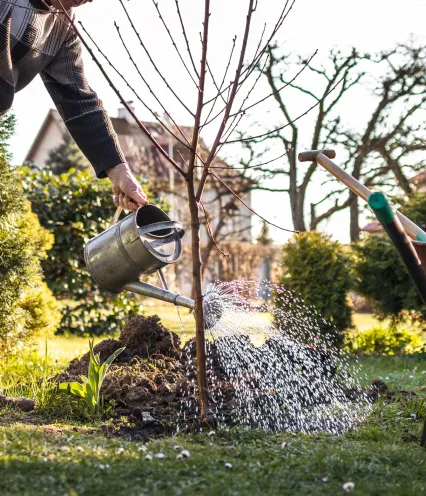
Water daily for the first two weeks. Then, water every three to seven days during the first year. Tip: set a reminder, like "Water Wednesdays."

Remove Tags
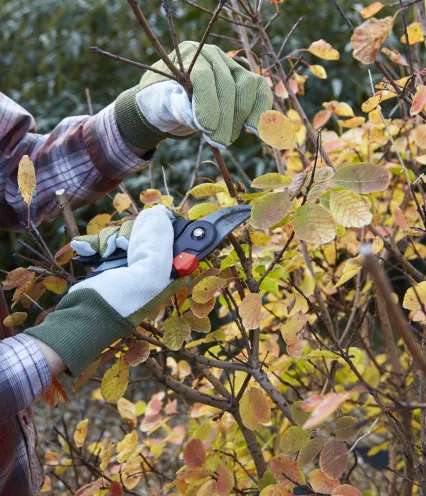
Remove any tags and labels from the tree as these will affect the tree as it grows. You may need to prune any broken or dead branches.

What if I can’t plant right away?
Keep your tree in a cool, shaded place until you’re ready to plant. Remember to water your tree regularly to prevent the roots from drying.
A better future is ready to be planted
Making the world better can start by planting a tree at home. Help keep it going by helping us plant trees around the world.

